

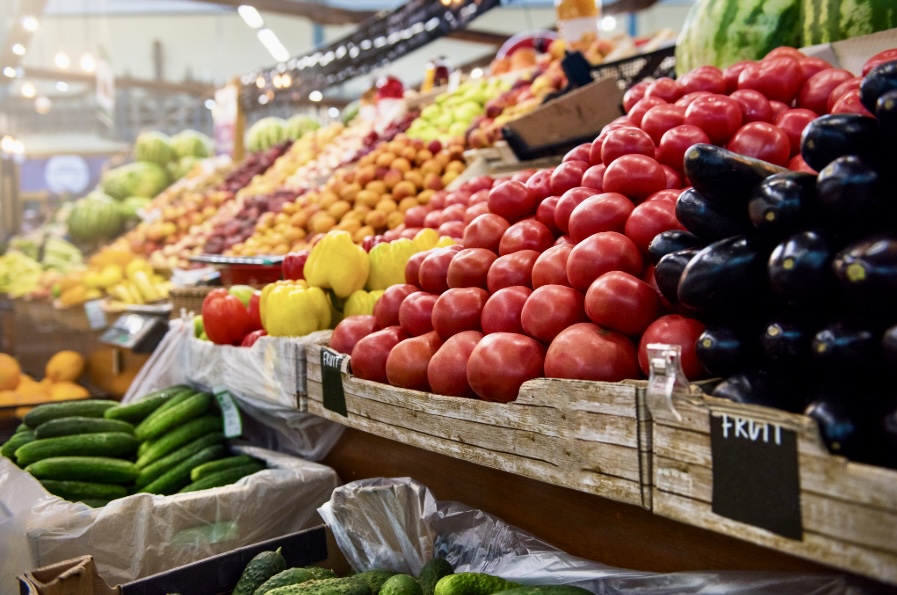
Storage & Preparation
Keeping fresh food from spoiling during the summer months can be challenging. If you live in a hot climate, the heat and humidity can make things even more difficult. Following the practical tips below, could help you make your food last longer. Whether you buy your food at the supermarket, or grow some, or all of your own food, using these methods could help make the most of your perishables by keeping waste to a minimum.
1. Store Food Properly
• Fruits and Vegetables:
• Separate ethylene-producing fruits; like bananas, apples, and tomatoes; from other produce to avoid premature ripening.
• Store leafy greens in sealed containers. You could also add a paper towel to help absorb any excess moisture.
• Try keeping vegetables like carrots and celery in water-filled containers. Put them in the fridge to maintain their freshness.
• Dairy Products:
• Keeping milk, cheese, and yogurt on the middle shelf of the fridge can help to maintain a steady temperature. Avoid using the fridge door, as temperatures are more likely to fluctuate. Smaller cartons of milk may be more expensive to buy, but if you prevent milk from going off as you get towards the end of the carton, you might find that you retrieve the initial loss by reducing waste: this would also be helpful for the environment.
• Meat and Fish:
• Store in airtight containers or vacuum-sealed bags to prevent contamination and freezer burn if freezing.
2. Optimize Refrigerator Use
• Maintain a fridge temperature of 1-4°C (34 to 39°F).
• Avoid overloading the fridge to allow proper airflow.
• Use the crisper drawers for fruits and vegetables, adjusting the humidity settings:
• High humidity for leafy greens.
• Low humidity for fruits.
3. Use Preservation Techniques
• Blanch and Freeze: For vegetables like beans or broccoli, blanch them in boiling water for a few minutes, cool quickly, then freeze.
• Pickling: Preserve cucumbers, carrots, and other vegetables in vinegar-based brines.
• Dehydration: Use a dehydrator or oven to remove moisture from fruits, veggies, or herbs. This is a useful method for extending their shelf life.
4. Use Airtight Containers
Store food in glass or BPA-free plastic containers with tight seals to keep air and moisture out. For grains, nuts, and flours, use vacuum-sealed bags if possible.
5. Cool Food Quickly
If cooking in bulk, let leftovers cool quickly and refrigerate them within two hours to reduce bacterial growth.
6. Reduce Humidity
• Use silica gel packs or desiccants in dry goods storage areas to prevent mold.
• Keep a fridge-friendly dehumidifier or baking soda inside your fridge to absorb the excess moisture.
7. Shop Strategically
AVOID OVERBUYING PERISHABLES
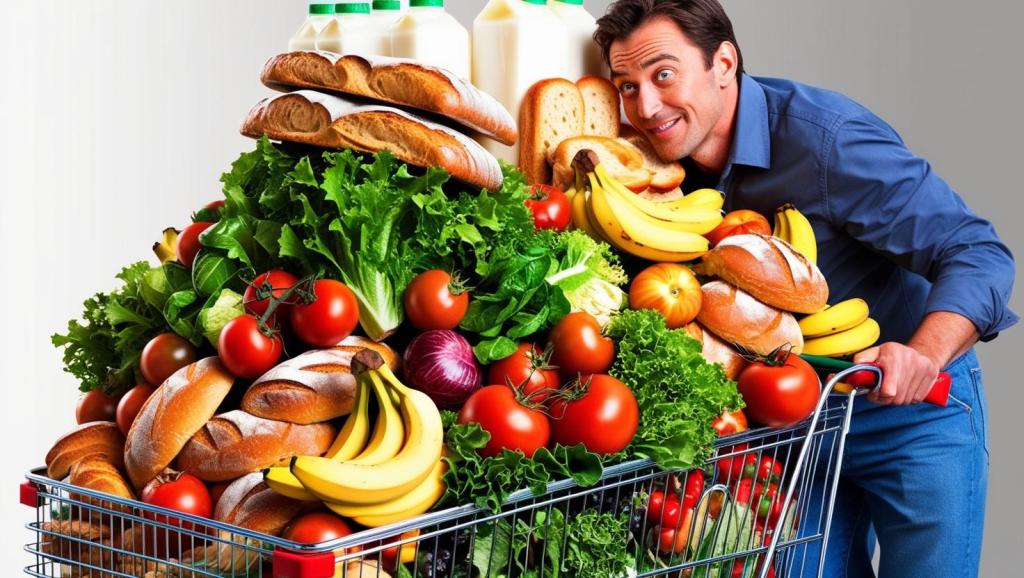
• If your budget and circumstances allow, try to buy smaller quantities of perishables. Shopping more frequently can help to minimise spoilage.
• Look for the freshest looking produce and pay attention to use by dates. Avoid choosing anything that looks bruised or overly ripe.
8. Store Certain Foods Outside the Fridge
You may be surprised to know, some foods last longer at room temperature, away from heat and direct sunlight:
• Onions and Garlic: Keep in a cool, dry, and ventilated spot.
• Potatoes: Store in a paper bag in a dark, cool place.
9. Avoid Washing Too Soon
Wash fruits and vegetables just before using them, as any excess moisture can speed up spoilage.
10. Use Natural Preservatives
• Squeeze lemon juice over cut fruits (like apples or avocados) to slow browning.
• Wrap herbs in damp paper towels and store them in a breathable bag or container.
Blanching
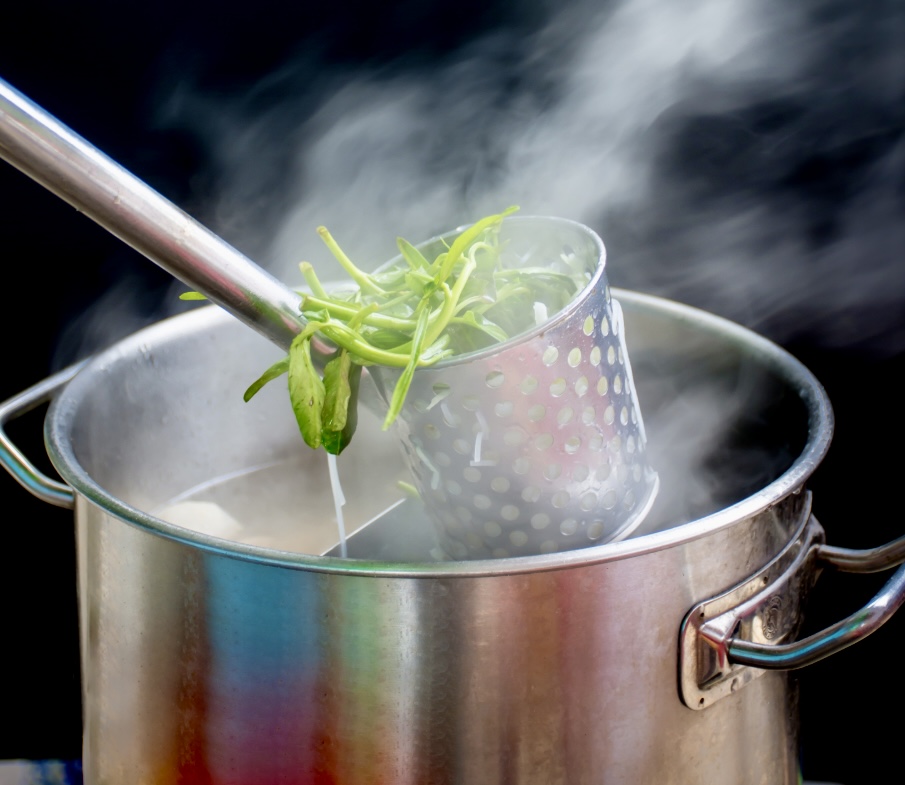
Blanching is a useful technique for preserving some vegetables. This involves partially cooking them in boiling water or steam, followed by rapid cooling. This process helps extend shelf life, preserve color, texture, and nutrients, and prepare vegetables for freezing. Here’s a detailed guide:
General Steps for Blanching
1. Prepare the Vegetables:
• Wash and trim vegetables.
• Cut them into uniform sizes for even blanching.
2. Boil Water:
• Use a large pot of water (1 gallon of water per pound of vegetables) to ensure even heat distribution.
3. Blanch:
• Add the vegetables to the boiling water or steamer basket.
• Cover the pot to maintain temperature.
4. Time the Process:
• Blanching times vary by vegetable (see below). Over-blanching can make them mushy, while under-blanching can lead to poor preservation.
5. Cool Rapidly:
• Transfer vegetables immediately to an ice water bath to stop cooking. Use about 1 pound of ice per gallon of water.
6. Drain and Dry:
• Once cooled, drain thoroughly and pat dry with a clean towel.
7. Store:
• Place vegetables in airtight freezer bags or containers. Remove as much air as possible to prevent freezer burn.
Blanching Times and Variations for Specific Vegetables
1. Leafy Greens (Spinach, Kale, Swiss Chard)
• Blanching Time: 2–3 minutes.
• Method: Submerge leaves in boiling water. For thicker stems (e.g., kale), you can blanch separately for 1–2 minutes longer.
2. Broccoli and Cauliflower
• Blanching Time: 3 minutes for florets, 4 minutes for stems.
• Method: Cut into bite-sized pieces. Broccoli benefits from steaming instead of boiling to maintain texture.
3. Green Beans
• Blanching Time: 2–3 minutes.
• Method: Keep beans whole or cut into desired lengths.
4. Carrots
• Blanching Time: 3 minutes for slices, 5 minutes for whole baby carrots.
• Method: Peel and slice or leave whole. Ensure uniform size for even cooking.
5. Peppers
• Blanching Time: Not always necessary, but 2–3 minutes if desired.
• Method: Halve, seed, and cut into strips or dice before blanching.
6. Zucchini and Summer Squash
• Blanching Time: 2–3 minutes.
• Method: Slice or dice. Blanching prevents the squash from becoming mushy during freezing.
7. Corn on the Cob
• Blanching Time: 7–9 minutes for whole ears, 4 minutes for kernels.
• Method: Blanch whole or cut off kernels before freezing.
8. Root Vegetables (Beets, Turnips, Parsnips)
• Blanching Time: 3–5 minutes, depending on size.
• Method: Peel, then slice or cube. Blanch whole for small roots.
9. Peas
• Blanching Time: 1.5–2 minutes.
• Method: Shell peas first, then blanch.
10. Tomatoes (For Peeling)
• Blanching Time: 30–60 seconds.
• Method: Score the skin with an X, blanch briefly, and transfer to ice water. Skins will slip off easily.
Key Tips for Successful Blanching
• Avoid Overcrowding: Blanch in small batches to maintain water temperature.
• Salted Water: Some cooks add salt to boiling water to enhance flavor and preserve colour.
• Label and Date: Freeze in measured portions, label, and date for easy use later.
• Avoid Re-Freezing: Once thawed, use the vegetables promptly.
Pickling
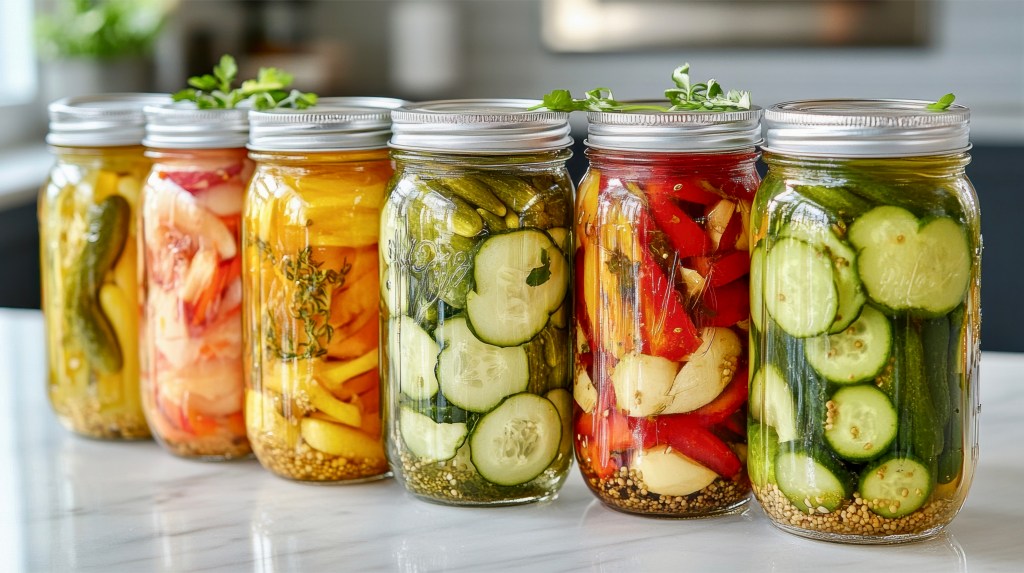
Pickling is a preservation method that uses vinegar or a salt brine to extend the shelf life of foods. It not only preserves but also enhances flavor with tangy, salty, or spicy profiles. Here’s an overview of the process, along with some suitable foods to pickle.
General Pickling Methods
1. Quick Pickling (Refrigerator Pickling)
• Fast and easy, but the pickles need to stay refrigerated.
• Best for short-term preservation (a few weeks).
2. Fermentation Pickling
• Uses saltwater brine and natural fermentation instead of vinegar.
• Takes longer (days to weeks) and requires careful monitoring but creates rich, probiotic flavors.
3. Traditional Canning Pickling
• Involves heating and sealing jars for longer-term storage.

Steps for Quick Pickling (Basic Method)
Ingredients:
• 1 cup water
• 1 cup vinegar (white, apple cider, or rice vinegar)
• 1 tablespoon salt (non-iodized, like kosher or pickling salt)
• 1 tablespoon sugar (optional, for balance)
• Spices and aromatics: garlic, dill, mustard seeds, peppercorns, chili flakes, etc.
Process:
1. Prepare the Food:
• Wash and cut vegetables into desired shapes (slices, spears, or chunks).
• Blanch tougher vegetables (like carrots) for 1-2 minutes to soften slightly.
2. Sterilise Jars:
• Wash jars with hot, soapy water and rinse well.
• Boil them for 10 minutes or run them through a dishwasher.
3. Make the Brine:
• In a saucepan, combine water, vinegar, salt, and sugar. Heat until dissolved.
4. Pack the Jars:
• Tightly pack the prepared vegetables into the jars.
• Add spices and aromatics as desired.
5. Pour the Brine:
• Pour the hot brine over the vegetables, leaving about 1/2 inch of head-space at the top.
• Tap jars gently to release air bubbles.
6. Seal and Store:
• Screw on lids tightly. Let cool to room temperature, then refrigerate.
• Wait 24 to 48 hours for flavors to develop before eating.
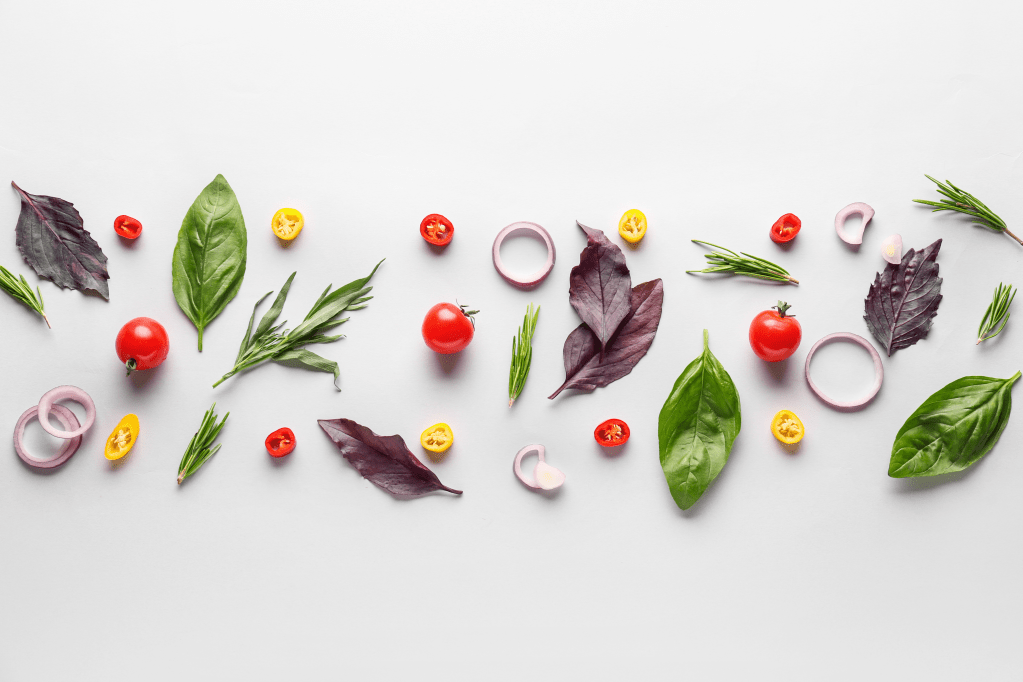
Suitable Foods for Pickling
Vegetables:
• Cucumbers: Classic for pickles (whole, sliced, or spears).
• Carrots: Sweet or savory pickles, often cut into sticks or coins.
• Radishes: Retain a crunchy texture and develop vibrant colors.
• Onions: Sliced red onions are great for tacos, salads, or sandwiches.
• Beets: Sweet and earthy, often paired with spices like cloves or cinnamon.
• Cauliflower: Pickled florets are crunchy and flavorful.
• Green Beans: Perfect for snacking or as a garnish for cocktails.
Fruits:
• Apples: Sliced and pickled with cinnamon and cloves for a sweet-tart treat.
• Peaches: Delicate and aromatic, pickled with ginger or allspice.
• Cherries: Great for cocktails when pickled with sugar and vinegar.
Herbs and Aromatics:
• Garlic cloves
• Fresh herbs like dill, thyme, or rosemary
• Jalapenos or other chili peppers
Other Foods:
• Hard-boiled eggs (traditional in some cuisines).
• Mushrooms (especially button mushrooms)
Fermentation Pickling Overview
• Use saltwater brine (1 tablespoon salt per cup of water) instead of vinegar.
• Keep vegetables submerged to avoid mold.
• Store jars in a cool, dark place for several days to ferment.
Storage Tips
• Quick pickles: Last up to 2-4 weeks in the fridge.
• Canned pickles: Last up to a year if stored in a cool, dark place.
• Fermented pickles: Last several months if refrigerated.
Sterilising

Boiling glass jars without breaking them and making pickled eggs are closely tied to proper sterilisation and careful handling. Here’s how to handle both processes:
Boiling Glass Jars Without Breaking
1. Choose High-Quality Jars:
• Use canning jars designed for heat exposure (e.g., Mason jars or Ball jars). Regular glass jars may crack under heat.
2. Inspect Jars:
• Check for cracks or chips, as damaged jars are prone to breaking.
3. Start with Room-Temperature Jars:
• Do not put cold jars directly into boiling water, as the temperature shock can cause them to crack.
4. Use a Pot with a Rack:
• Place a rack or a layer of kitchen towels at the bottom of the pot to prevent jars from touching the hot pot directly.
5. Warm Jars Gradually:
• Fill jars with warm water before placing them in the pot.
• Add lukewarm water to the pot, ensuring the jars are submerged.
6. Boil Gently:
• Heat the water slowly to a boil. Boil jars for 10 minutes to sterilize them.
7. Remove Carefully:
• Use tongs or a jar lifter to remove jars, and place them on a towel or rack to cool. Avoid placing hot jars on cold surfaces.
Pickled Egg Process
Pickled eggs are a classic snack with tangy flavor and long shelf life. Here’s how to make them:
Ingredients (for a standard 1-quart jar):
• 6–12 hard-boiled eggs (depending on jar size)
• 1 cup white vinegar
• 1/2 cup water
• 2 tablespoons sugar
• 1 tablespoon salt
• Spices and aromatics (optional):
• 1 teaspoon mustard seeds
• 1/2 teaspoon black peppercorns
• 1 clove garlic (peeled)
• 1 bay leaf
• A pinch of chili flakes (for heat)
Steps to Make Pickled Eggs
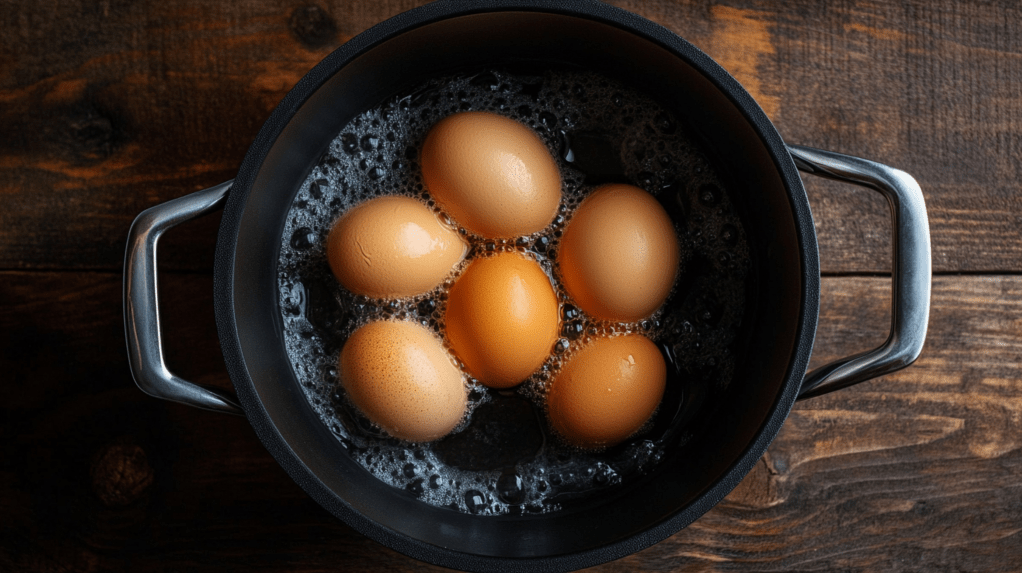
1. Hard-Boil the Eggs:
• Place eggs in a pot, cover with water, and bring to a boil.
• Simmer for 10 minutes, then transfer to an ice water bath.
• Peel the eggs carefully to avoid tearing the whites.
2. Sterilize the Jar:
• Boil the jar and lid as described above.
3. Make the Brine:
• Combine vinegar, water, sugar, salt, and spices in a saucepan.
• Bring to a boil, stirring to dissolve the sugar and salt.
4. Pack the Jar:
• Place peeled eggs into the sterilized jar. Arrange them snugly, but not too tightly.
5. Pour the Brine:
• Pour the hot brine over the eggs, ensuring they are fully submerged.
• Leave about 1/2 inch of head-space at the top of the jar.
6. Seal and Store:
• Close the lid tightly.
• Let the jar cool to room temperature before refrigerating.
7. Wait Before Eating:
• For the best flavor, allow the eggs to pickle for at least 7 days in the fridge. They will keep for up to 2 months.
Flavor Variations for Pickled Eggs
• Beet Pickled Eggs: Add cooked beet slices or beet juice to the brine for a vibrant pink color and earthy flavor.
• Spicy Eggs: Add sliced jalapenos, chili flakes, or hot sauce to the brine.
• Herbed Eggs: Add dill, thyme, or rosemary for a fresh, aromatic twist.
Here’s a simple Spicy Pickled Eggs recipe that delivers heat and tangy flavor:
Ingredients
(Makes about 6-8 eggs)
• 6–8 hard-boiled eggs (peeled)
• 1 cup white vinegar
• 1/2 cup water
• 2 tablespoons sugar
• 1 tablespoon salt
• 1 teaspoon chili flakes
• 1 small jalapeno (sliced, optional for extra heat)
• 1/2 teaspoon black peppercorns
• 1 clove garlic (peeled and smashed)
• 1 bay leaf
• 1/2 teaspoon smoked paprika or cayenne pepper (optional, for smoky heat)
Instructions
1. Prepare the Eggs
• Boil the eggs for about 10 minutes, then transfer them to an ice water bath.
• Peel the eggs and set them aside.
2. Sterilize the Jar
• Boil a 1-quart jar and lid in water for 10 minutes, then let them air dry on a clean towel.
3. Make the Brine
• In a saucepan, combine the vinegar, water, sugar, salt, chili flakes, black peppercorns, garlic, bay leaf, and smoked paprika (if using).
• Bring the mixture to a boil, then simmer for 2-3 minutes to allow the flavors to meld.
4. Pack the Jar
• Place the peeled eggs into the sterilized jar, layering with jalapeno slices (if using) for added spice.
5. Add the Brine
• Pour the hot brine over the eggs, ensuring they are completely submerged. Leave about 1/2 inch of head-space at the top of the jar.
• Tap the jar gently to release air bubbles and adjust the eggs if necessary.
6. Seal and Cool
• Seal the jar tightly with the lid. Let it cool to room temperature before refrigerating.
7. Wait and Enjoy
• Allow the eggs to pickle for at least 7 days in the refrigerator before eating. The flavor will deepen over time.
• Store in the fridge and consume within 2 months.
Tips for Adjusting Heat
• For mild heat, reduce the chili flakes or use a mild pepper like banana peppers.
• For extra heat, add more chilli flakes, or a splash of hot sauce to the brine.
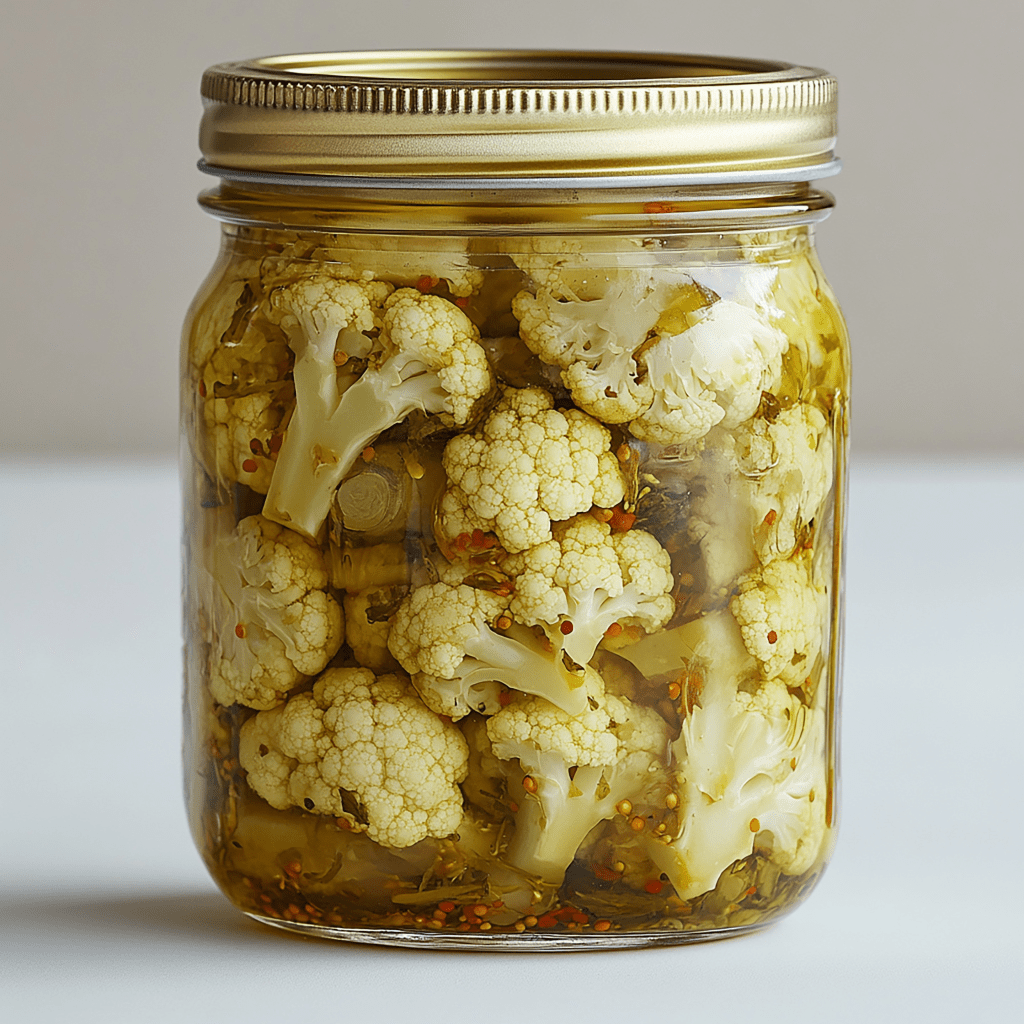
Pickled Cauliflower
Pickling cauliflower is just as easy as pickling onions, and it makes a crunchy, tangy addition to meals. Here’s how you can do it:
Ingredients:
• Cauliflower florets (about 1 medium head, cut into bite-sized pieces)
• Vinegar (white, apple cider, or rice vinegar, about 500ml)
• Water (500ml)
• Salt (2 tbsp)
• Sugar (optional, 2 tbsp for a mild sweetness)
• Spices and flavorings (optional):
• Garlic cloves
• Mustard seeds
• Peppercorns
• Dill
• Chili flakes
• Turmeric (for color and flavor)
Equipment:
• Glass jars with airtight lids (sterilised)
• A saucepan for the brine
• A clean towel or paper towel for drying the cauliflower
Steps:
1. Prepare the cauliflower:
1. Cut the cauliflower into small, even-sized florets.
2. Rinse them thoroughly under cold water.
3. Optional: Blanch the florets by boiling them in salted water for 1-2 minutes, then transferring them to ice water to cool. This softens them slightly but keeps them crunchy. Drain and pat dry.
2. Prepare the pickling brine:
1. In a saucepan, combine vinegar, water, salt, sugar (if using), and spices.
• Example spice mix: 1 tsp mustard seeds, 1 tsp chili flakes, 5 peppercorns, 1 garlic clove (sliced), and ½ tsp turmeric for color.
2. Bring the mixture to a gentle boil, then let it simmer for 2-3 minutes to meld the flavors.
3. Let the brine cool slightly.
3. Pack the jars:
1. Tightly pack the cauliflower florets into sterilized jars. Add extra spices or flavorings between layers for added flavor.
• For example: A sprig of dill, slices of garlic, or additional chili flakes.
2. Pour the warm brine over the cauliflower, ensuring the florets are fully submerged.
4. Seal and store:
1. Seal the jars tightly with lids.
2. Let the jars cool to room temperature, then store them in the refrigerator or a cool, dark place.
5. Wait and enjoy:
1. Let the cauliflower pickle for at least 48 hours before eating. For stronger flavor, wait 1-2 weeks.
2. Once opened, store in the refrigerator and consume within a few months.
Tips:
• For colorful pickles, mix in vegetables like carrots, red bell peppers, or red onions with the cauliflower.
• If you prefer spicy pickles, add fresh chili slices or more chili flakes to the brine.
• Sterilizing jars is essential to prevent spoilage and keep your pickles fresh for longer.
Enjoy your homemade pickled cauliflower—it’s perfect for snacking, salads, or as a side dish!
Before setting out on your journey of exploration in food preservation, we recommend that you access an authenticated guide that describes the above information in a more detailed way. We hope we have helped you to decide whether or not to get more involved by reading our quick look at what you will be getting into.
DISCLAIMER
All the information provided above is a general guide which is not intended to provide accurate weights, measures and timings of food preparation, or the associated techniques. The information in this article has been gathered using the assistance of artificial intelligence (AI). We cannot take responsibility for errors in the information provided by AI. We recommend that you refer to an authenticated source of information when preparing, storing or cooking fresh produce or other foodstuffs.
Reading the above article will give you a general idea of what is involved in the processes described and help you decide whether or not you want to pursue it further. We hope you have enjoyed reading the article and that you found it entertaining. Thank you for reading MiniRag.com
Discover more from MiniRag ©
Subscribe to get the latest posts sent to your email.
